


Installing the Gitness project in the server locally
Gitness alternative for GitLab.


Hi geeks, today I want to install Gitness. Gitness is an alternative to GitLab, especially in Iran. For installing Gitness you should have a VPS with GNU/Linux OS. After buying VPS, you should run these commands in your shell.
Step 1 -> Update Package manager
# Debian Base command
sudo apt update -y
#Red hat base command
sudo dnf update -y
Step 2 -> Installing dependency
# Debain base command
sudo apt install docker docker-compose nginx -y
Step 3 -> Clone project from GitHub
git clone https://github.com/harness/gitness.git
cd gitness
Step 4 -> Running Gitness project
docker run -d \
  -e GITNESS_URL_BASE=https://YOUR-DOMAIN \
  -p 5550:3000 \
  -v /var/run/docker.sock:/var/run/docker.sock \
  -v /mnt/gitness-data:/data \
  --name gitness \
  --restart always \
  harness/gitness
Tips
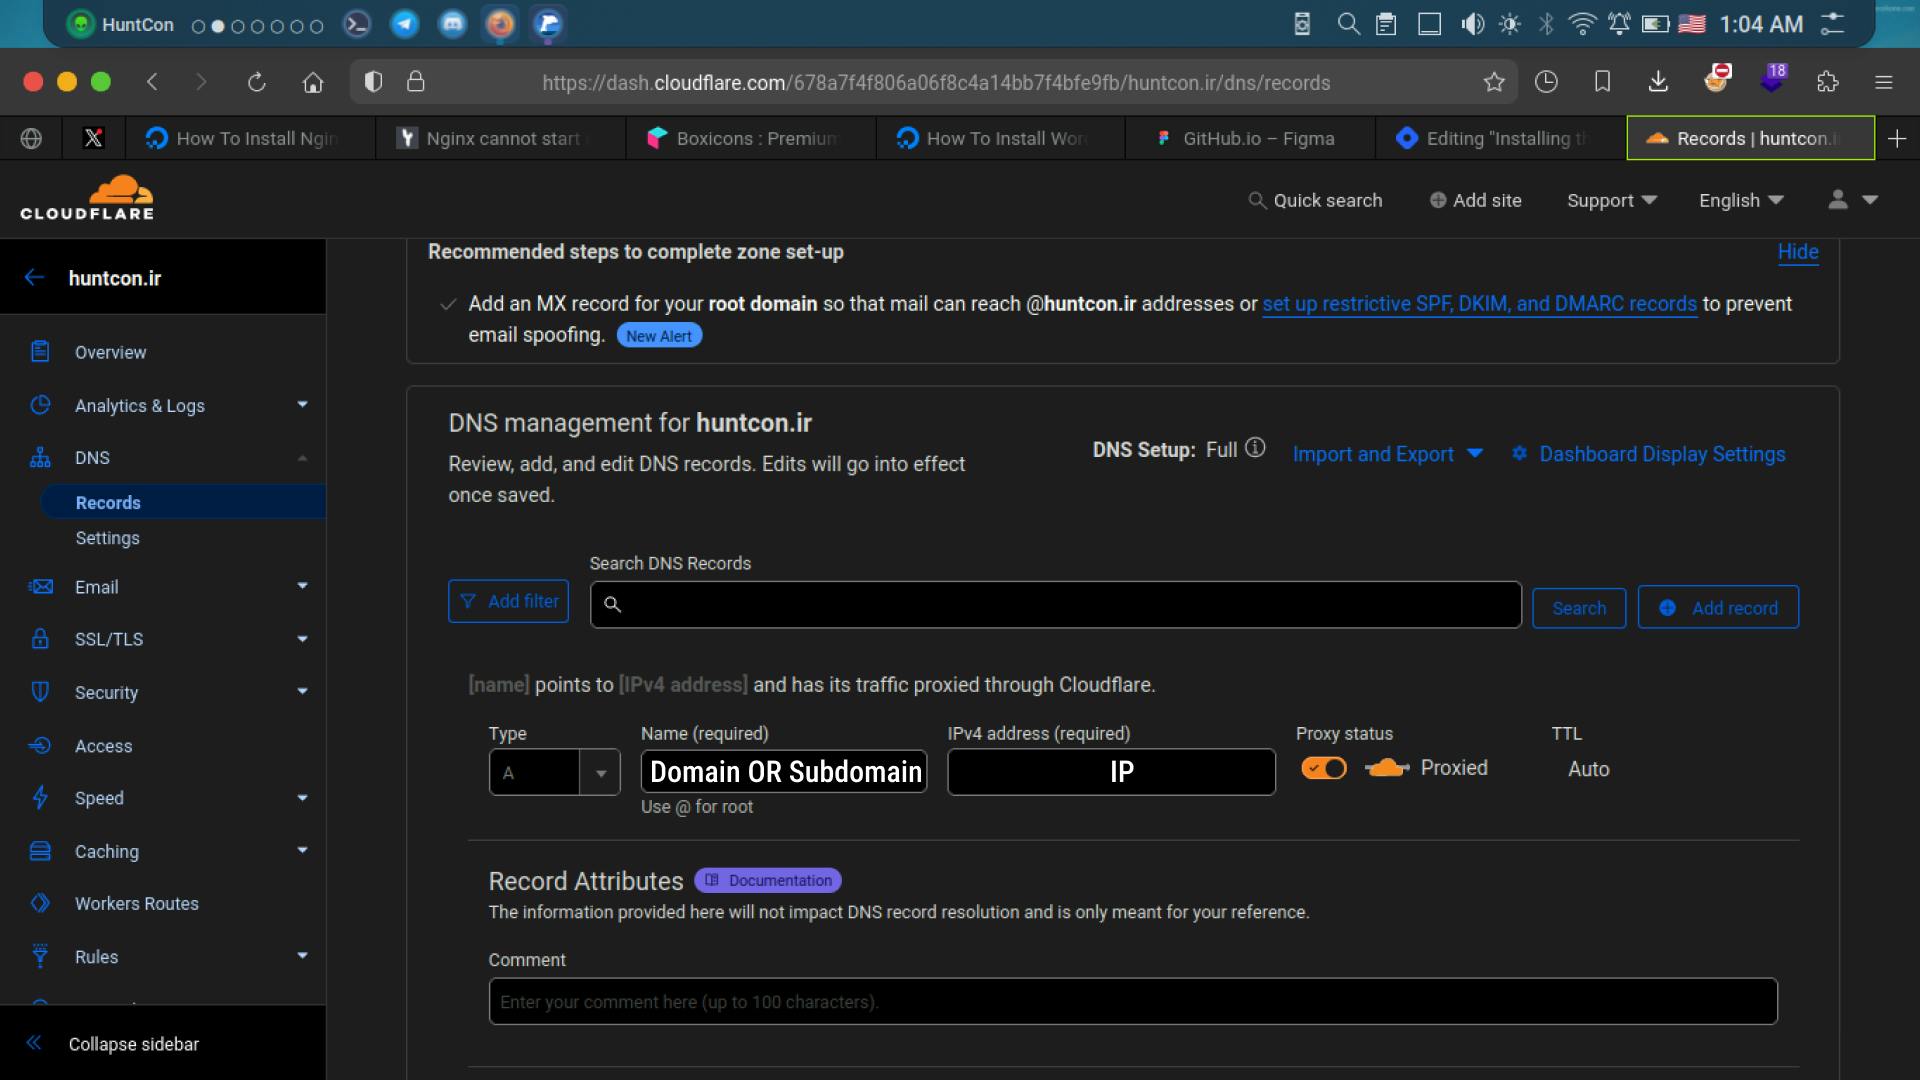
| -e | Your domain or subdomain and IP |
| -p | Locally Port |
Step 5 -> Setup DNS
For Setup DNS and make DNS Record, I utilize cloudflare.
💡
You can config custom DNS server.
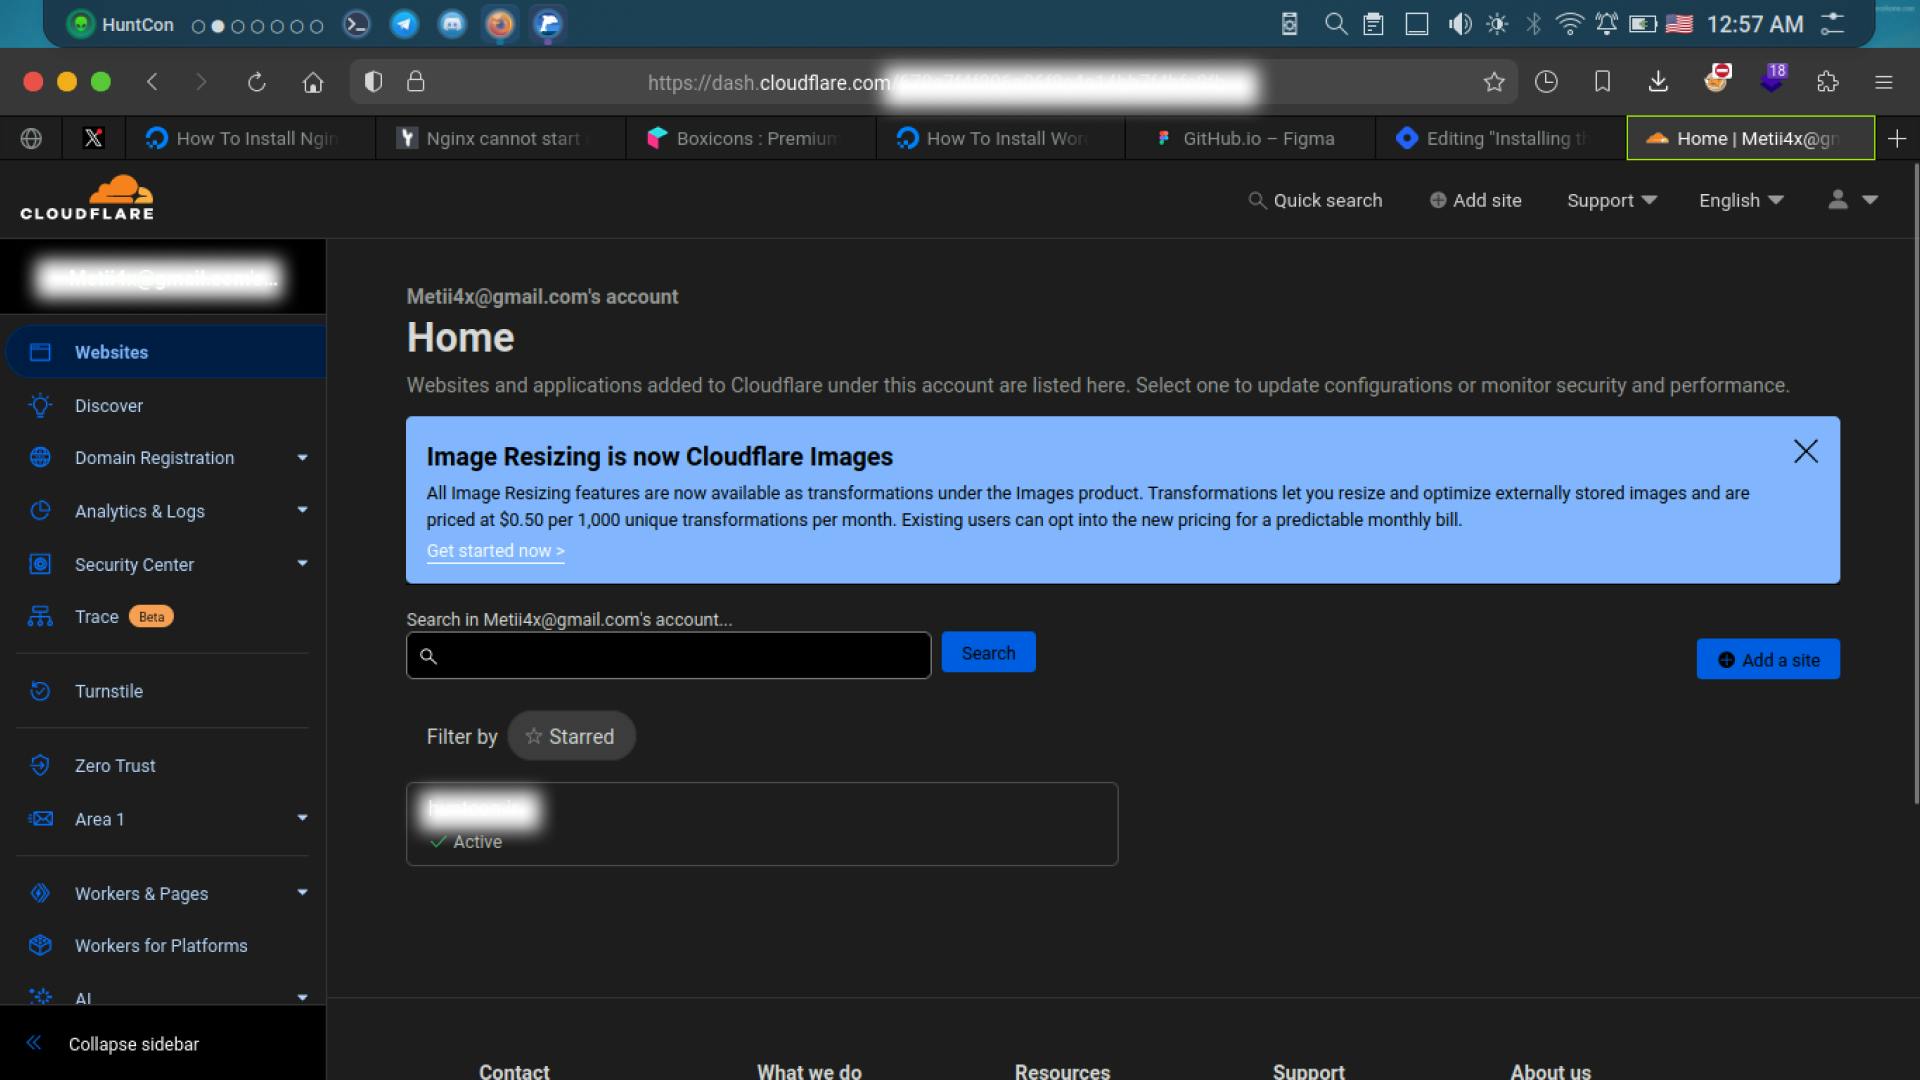
Open CLOUDFLARE and logged in to your account. After logged in click on your domain and follow this flow: DNS -> Records -> Add record.
Well, now you should set a subdomain and insert your IP for pointing domain/subdomain to server. in other world, make an A record.
Step 6 -> Config Nginx Web server
Make a file:
touch /etc/nginx/sites-available/gitness.conf
Open file and and insert config:
vim /etc/nginx/sites-available/gitness.conf
server {
    listen 80;
    server_name gitness.huntcon.ir;

    location / {
        proxy_pass http://localhost:5550;
        proxy_set_header Host $host;
        proxy_set_header X-Real-IP $remote_addr;
        proxy_set_header X-Forwarded-For $proxy_add_x_forwarded_for;
    }
}
Update Nginx:
ln -s /etc/nginx/sites-available/gitness.conf /etc/nginx/sites-enabled/
sudo systemctl restart nginx.service
👍
Everything is ready now
Step 7 -> Sing up to Gitness
First user is admin in Gitness.

Well, now you should create a porject.

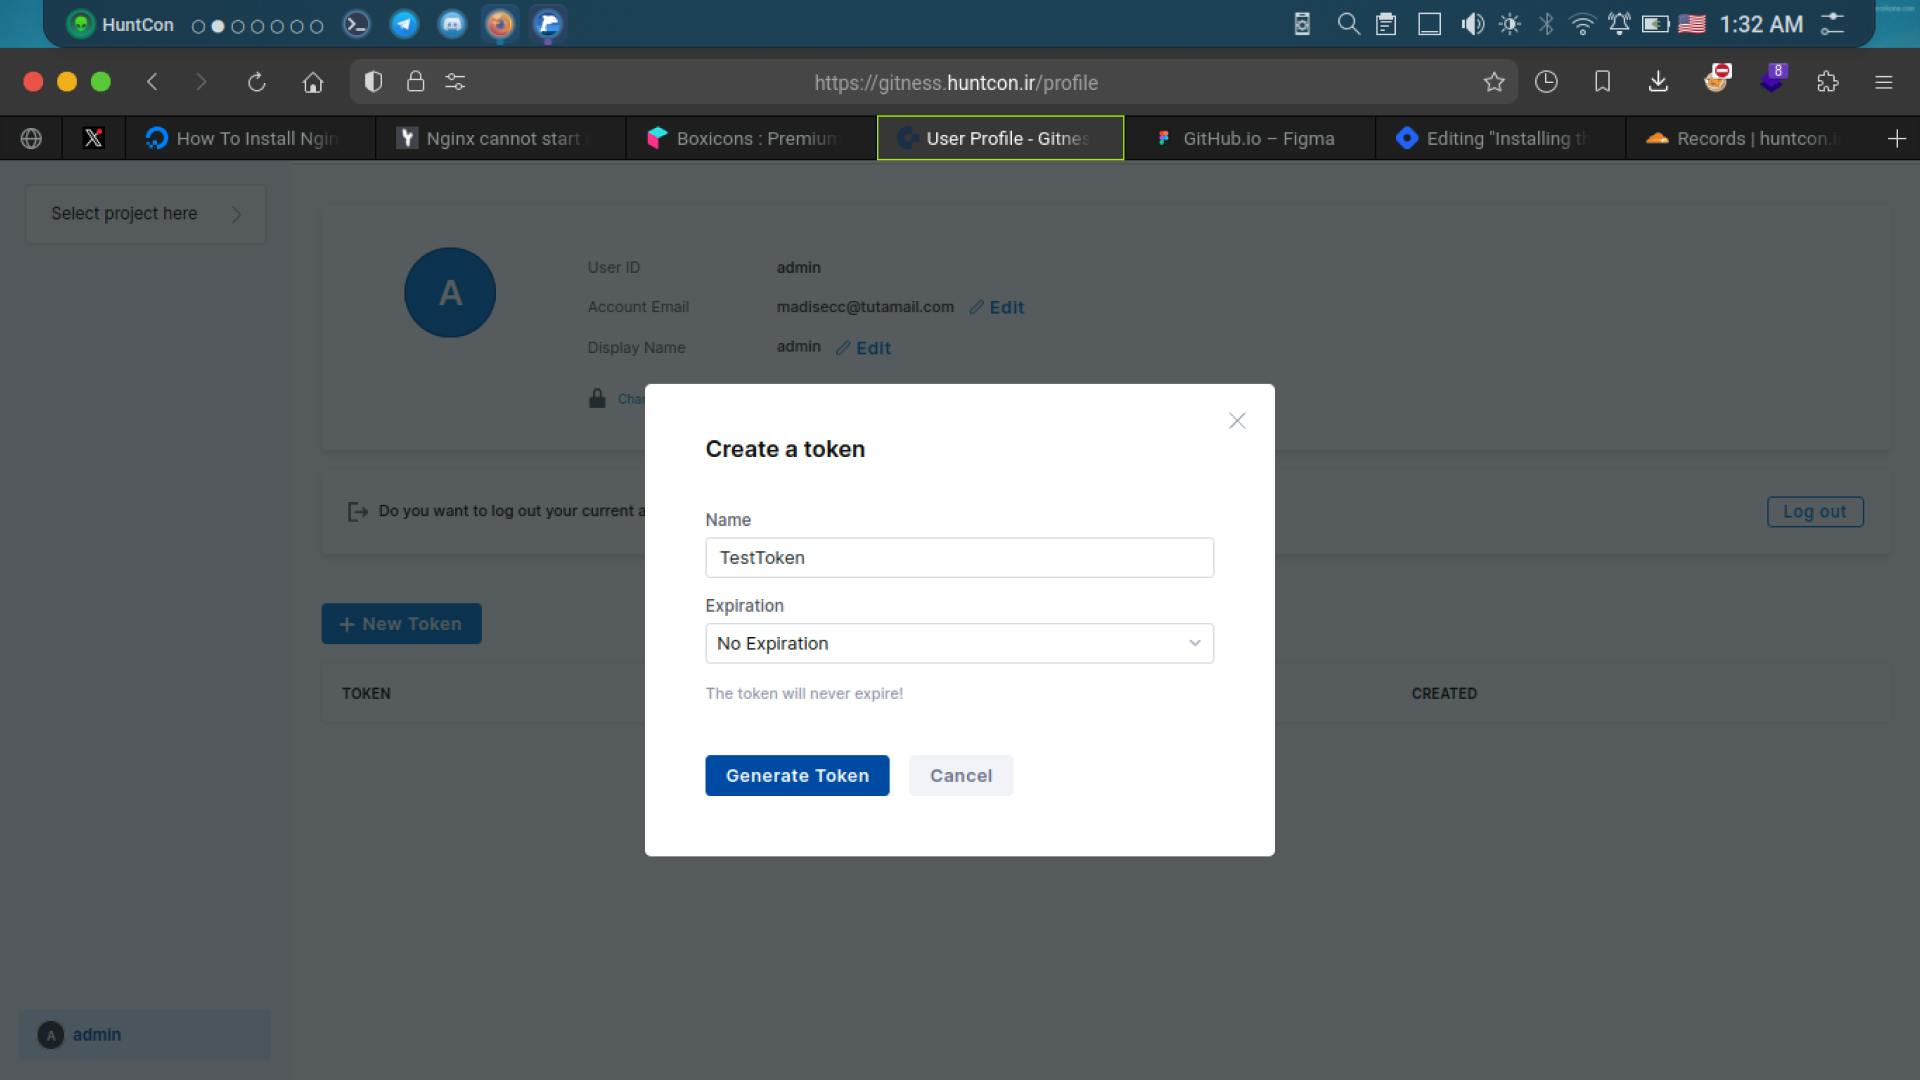
Step 8 -> Get token
💡
In Gitness, Token is your password for commit, push, pull and so on.
The End
Thank you for reading this article🫶🫶.